How to Make Homemade Pizza Dough from Scratch
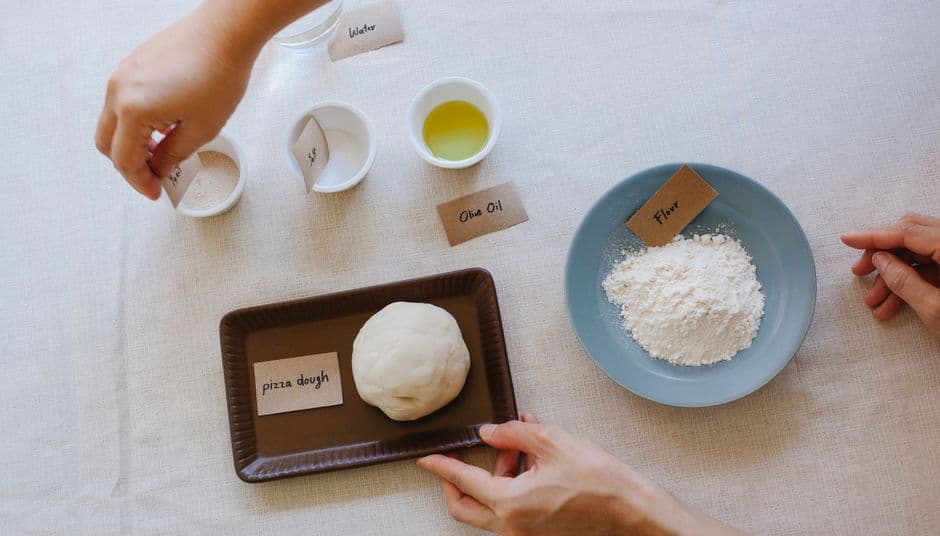
Making homemade pizza dough from scratch is straightforward and rewarding. Using just a few simple ingredients, this dough can be prepared in less than an hour. Mastering the art of pizza dough allows you to create the perfect base for any topping combination you desire.
📣 Здесь может быть ваша рекламаОставить заявку →1Method 1: Gathering Your Ingredients
- 1
Gather Basic Ingredients
To make pizza dough, you will need the following ingredients:- 2 1/4 teaspoons active dry yeast (1 packet)
- 1 teaspoon sugar
- 3/4 cup warm water (about 110°F or 43°C)
- 2 cups all-purpose flour
- 1 teaspoon salt
- 1 tablespoon olive oil
2Method 2: Preparing the Dough
- 1
Activate the Yeast
In a small bowl, combine the warm water, sugar, and yeast. Stir gently and let it sit for about 5-10 minutes until it becomes frothy on top. This step is crucial as it activates the yeast, ensuring your dough rises properly. - 2
Combine Dry Ingredients
In a large mixing bowl, whisk together the flour and salt. Mixing these ingredients before adding the yeast ensures even distribution and prevents clumping during kneading. - 📣 Здесь может быть ваша рекламаОставить заявку →3
Mix the Dough
Add the activated yeast mixture and olive oil into the flour mixture. Stir with a wooden spoon or spatula until the mixture starts coming together into a shaggy dough. It is important to incorporate the wet and dry ingredients thoroughly without overworking them at this point. - 4
Knead the Dough
Transfer the dough onto a floured surface and knead for about 8-10 minutes. Press the dough with the heel of your hands, fold it over, and repeat. The dough should be smooth and elastic but not sticky. If it’s too sticky, sprinkle a little more flour as needed. - 5
Let the Dough Rise
Place the kneaded dough in a lightly oiled bowl, cover it with a damp cloth or plastic wrap, and let it rise in a warm place for about 30 minutes. The dough should double in size, indicating that the yeast is active and fermenting properly.
3Method 3: Shaping and Resting the Dough
- 1
Punch Down the Dough
After the dough has doubled in size, punch it down gently to release excess air. This step is important as it helps to create a denser crust that holds toppings better. - 📣 Здесь может быть ваша рекламаОставить заявку →2
Divide the Dough
If you plan to make multiple pizzas, divide the dough into 2-3 equal portions using a sharp knife or a dough cutter. Each portion can create a medium-sized pizza. If you're making one large pizza, you can keep it whole. - 3
Shape the Dough
On a floured surface, take one portion and flatten it slightly with your hands. Use a rolling pin or your fingers to stretch it into your desired shape (round or rectangular). Aim for an even thickness, preferably about 1/4 inch thick for a crispy crust. - 4
Rest the Dough
Once shaped, let the dough rest for about 10 minutes before adding toppings. This rest period allows the gluten to relax, making it easier to stretch further without springing back.
4Method 4: Baking Your Pizza
- 1
Preheat the Oven
Set your oven to the highest temperature possible (usually between 475°F to 500°F or 246°C to 260°C). If you have a pizza stone, place it in the oven while it preheats to ensure it’s hot enough when you bake the pizza. - 📣 Здесь может быть ваша рекламаОставить заявку →2
Prepare Your Pizza Base
Once the dough has rested, transfer it to a pizza peel or a baking sheet lined with parchment paper. Add your desired sauce, cheese, and toppings. Be cautious not to overload the pizza as this can result in a soggy base. - 3
Bake the Pizza
Carefully slide the pizza onto the hot pizza stone or place it in the oven on the baking sheet. Bake for about 12-15 minutes or until the crust is golden brown and the cheese is bubbling. Keep an eye on it to prevent burning. - 4
Cool and Slice
Once baked, remove the pizza from the oven and let it cool for a few minutes. This allows the cheese to set slightly, making it easier to slice. Use a sharp pizza cutter to cut into wedges and serve hot!
⚠️ Warnings
- Ensure the water is not too hot, as it can kill the yeast.
- Do not rush the rising process; give it enough time for best results.
Frequently asked questions
What if my dough doesn’t rise?
If your dough doesn't rise, it might be due to inactive yeast. Check the expiration date of your yeast. If it’s still good, ensure the water was at the right temperature and give it more time to rise.
Can I use whole wheat flour?
Yes, you can substitute up to half of the all-purpose flour with whole wheat flour for a healthier option. However, you may need to adjust the water content slightly.
How do I store leftover dough?
If you have leftover dough, wrap it tightly in plastic wrap and store it in the fridge for up to 3 days. You can also freeze it for up to 3 months - just be sure to thaw in the fridge overnight before using.
Can I make pizza dough ahead of time?
Yes, you can prepare the dough in advance and let it rise in the fridge. It can develop richer flavors this way. Just remember to let it come to room temperature before shaping.
What type of yeast should I use?
Both active dry yeast and instant yeast work well for pizza dough. Just make sure to activate active yeast as described, while instant yeast can be mixed directly with the dry ingredients.