How to Remove Light Scratches from Car Paint
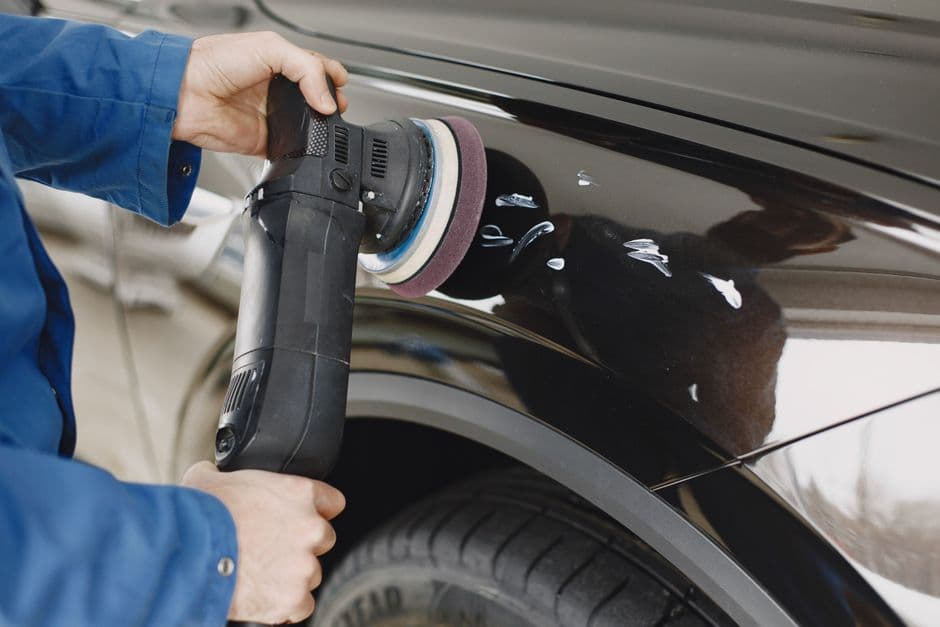
Removing light scratches from your car's paint can restore its shine and protect it from further damage. This guide covers practical methods to effectively eliminate those minor blemishes, ensuring your vehicle looks its best. Whether you're preparing for a car show or just want to make your daily driver look pristine, these techniques can help you achieve professional results at home.
📣 Здесь может быть ваша рекламаОставить заявку →1Method 1: Using Scratch Remover Products
- 1
Select a Scratch Remover
Choose a reliable scratch remover product specifically designed for automotive use. Brands like Meguiar's Scratch X 2.0 or Turtle Wax Scratch Repair should be your go-to. These products help fill in and smooth out light scratches.
- 2
Clean the Area
Prepare the surface by washing it with car soap and water. Use a microfiber cloth to dry the area thoroughly. This step is crucial; any dirt or debris can worsen the scratches during removal.
- 3
Apply Scratch Remover
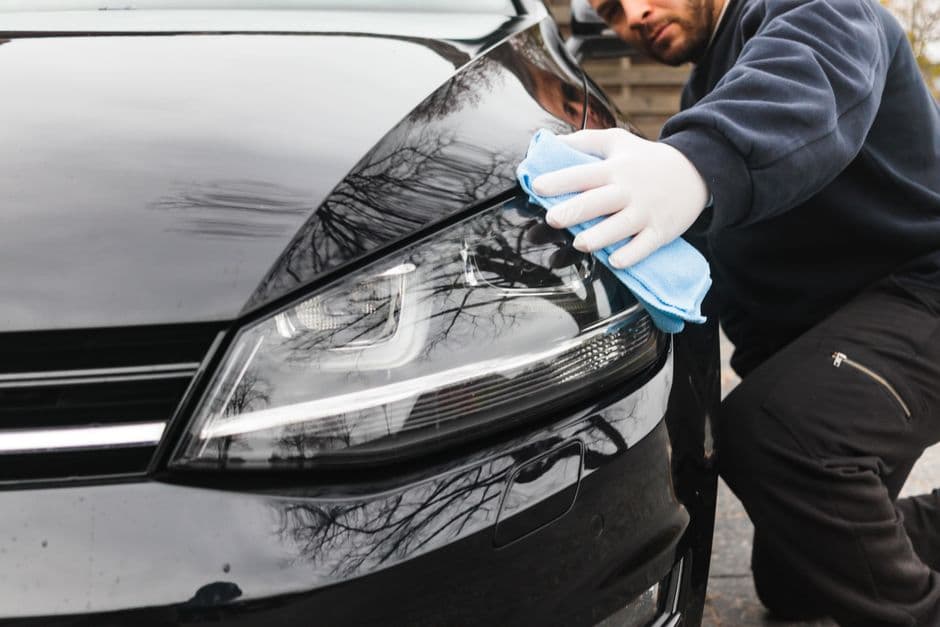
Squeeze a small amount of the scratch remover onto a clean, dry microfiber cloth. Apply the product to the scratched area in a circular motion, using gentle pressure. Work in small sections to ensure even coverage.
- 📣 Здесь может быть ваша рекламаОставить заявку →4
Buff the Area
After applying the product, allow it to sit for the recommended time, usually around 30 seconds. Then, use a clean section of the microfiber cloth to buff the area, enhancing the shine and reducing visibility of the scratch.
- 5
Assess the Scratch
After buffing, assess the scratch. If it’s still visible, repeat the application process. Remember that deeper scratches may require multiple applications, but excessive buffing can damage the clear coat.
2Method 2: Using Polishing Compound
- 1
Gather Materials
For this method, you will need a polishing compound (like 3M Perfect-It) and an application pad. Make sure you select a fine polishing compound to avoid further damaging the paint.
- 2
Wash and Dry the Car
As with the first method, wash the area around the scratch thoroughly with car soap and water, followed by a thorough drying with a microfiber cloth. Ensure that no lint remains.
- 📣 Здесь может быть ваша рекламаОставить заявку →3
Apply Polishing Compound
Place a small amount of polishing compound on the application pad and apply it to the scratched area using moderate pressure. Move the pad in a back-and-forth or circular motion until the compound begins to break down, usually after a minute or so.
- 4
Wipe Off Residue
After working the compound into the paint, take a clean microfiber towel to gently wipe away the residue. This will help you see if the scratch has diminished. If needed, repeat the application.
- 5
Seal with Wax
Finish by applying a layer of wax to the repaired area to protect the paint. Choose a good quality car wax and apply it using a separate applicator pad. This helps maintain the shine and seals the newly polished area.
3Method 3: DIY Toothpaste Method
- 1
Select Your Toothpaste
If you'd rather use household items, choose a non-gel, non-whitening toothpaste like Colgate or Crest. These types have mild abrasives that can help polish out light scratches.
- 📣 Здесь может быть ваша рекламаОставить заявку →2
Prepare the Area
Wash and dry the scratched area as you would with the previous methods. This ensures that no dirt interferes with your DIY scratch removal.
- 3
Apply Toothpaste with a Cloth
Put a small amount of toothpaste on a clean, soft cloth. Rub it over the scratch in circular motions with firm but gentle pressure. This method can take a few minutes, but persistence pays off.
- 4
Wipe Off and Inspect
After a couple of minutes, wipe off the toothpaste using a damp cloth, and inspect the scratch. If it’s still visible, you can repeat this process. However, avoid excessive rubbing to protect your paint job.
- 5
Finish with a Polish or Wax
To maintain the shine and protect the area, apply a wax or polish after the toothpaste treatment. This adds a layer of protection against further damage.
💡 Tips
- Always do a patch test in an inconspicuous area before applying any product to check for compatibility.
- Use high-quality microfiber cloths to avoid further scratching the paint surface.
- Apply products in the shade to prevent them from drying too quickly and ensure better results.
- Consider using a car polish after scratch removal for a smooth, glossy finish.
⚠️ Warnings
- Avoid using rough or abrasive cloths, as they can create additional scratches.
- Do not apply excessive pressure when buffing or polishing; this can damage the clear coat.
- When using DIY methods, be cautious with excessive rubbing to prevent damaging the paint.
Frequently asked questions
How do I know if a scratch can be removed?
Light scratches that only affect the clear coat can often be removed. If you feel the scratch with your fingernail and it catches, it may be too deep for simple products.
Can I remove scratches on all car colors?
Yes, these methods can be applied to most car colors and finishes, but always perform a test on a small area first to ensure compatibility.
How often can I use scratch remover products?
You can use scratch removers periodically, but it's best to avoid frequent use to prevent degrading the clear coat over time.
Will these methods damage my car's paint?
If done correctly and with the right products, these methods should not damage your car's paint. Always use products meant for vehicle surfaces.
What's the difference between polishing compound and scratch remover?
Scratch removers are designed to fill and hide scratches, while polishing compounds polish the paint surface, smoothing it out.