How to Start a Home Embroidery Project
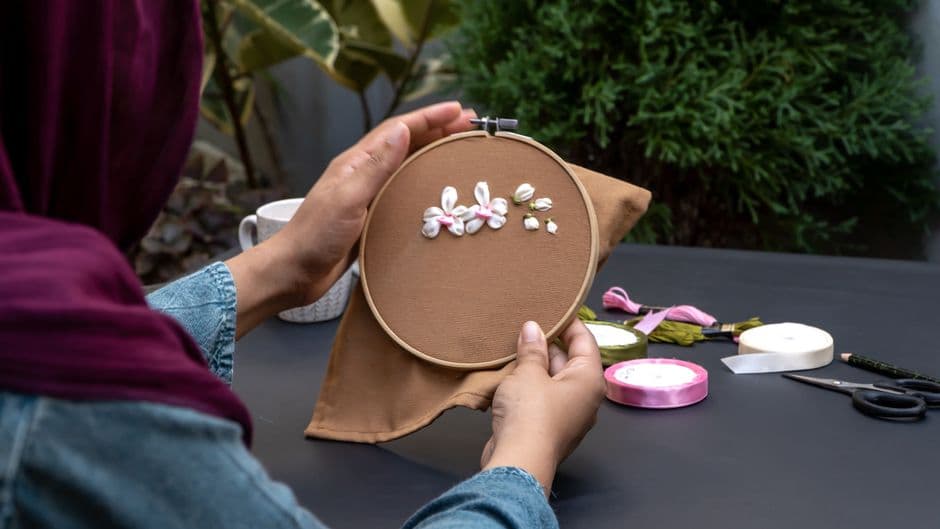
Embarking on a home embroidery project can be a rewarding and creative experience. It requires just a few basic supplies and some patience to get started. This guide will take you through the essential steps and tips to help you begin your embroidery journey with confidence.
📣 Здесь может быть ваша рекламаОставить заявку →1Step 1: Gather Your Supplies
- 1
Choose Your Fabric
Select a fabric that works well for embroidery. Cotton and linen are popular choices due to their durability and ease of use. Aim for a fabric that is at least 100% cotton, with a weight of 4-6 oz per square yard for best results. - 2
Select Embroidery Thread
Use embroidery floss, which usually comes in six-strand skeins. Choose a selection of colors that you find appealing. For beginners, start with 5-10 colors to keep it manageable. DMC and Anchor are trusted brands. - 3
Get Essential Tools
Gather the basic tools needed for your project:- Embroidery needles - size 5 or 7 is ideal for most fabrics.
- Embroidery hoop - a 6-inch or 8-inch hoop will help keep your fabric taut while working.
- Scissors - small, sharp embroidery scissors work best for precise cutting.
- Marking pen - for transferring your design onto the fabric.
- 📣 Здесь может быть ваша рекламаОставить заявку →4
Prepare Your Workspace
Find a clean, well-lit area to work on your project. A sturdy table with good overhead lighting is preferred. Ensure you have enough space for your materials and tools.
2Step 2: Choose an Embroidery Design
- 1
Find Inspiration
Look for design inspiration online through platforms like Pinterest, Etsy, or embroidery magazines. Consider themes that resonate with you, such as floral patterns or geometric designs. - 2
Create or Trace a Design
Once you’ve chosen a design, you can either draw it freehand or print it out. If printing, ensure that it fits within the space of your hoop. Use a transfer pen to trace your design onto the fabric carefully. - 3
Select a Stitch Technique
Decide on the stitch techniques you want to use. The most common stitches include:- Back stitch - great for outlines.
- Satin stitch - perfect for filling in shapes.
- French knot - ideal for adding tiny details like flower centers.
3Step 3: Embroider Your Design
- 📣 Здесь может быть ваша рекламаОставить заявку →1
Set Up Your Hoop
Loosen the screw on your embroidery hoop and place the fabric under the inner ring. Pull the fabric tight and then re-tighten the screw, ensuring the fabric is taut but not so tight it distorts the fabric's weave. - 2
Start Stitching
Begin your embroidery by following your design. Secure your thread on the back, and start with your chosen stitch technique. Take your time, as precision increases the quality of your work. - 3
Check Your Progress
After completing sections, periodically check your work to ensure it matches your design. Adjust stitch tension as needed to keep them evenly spaced and consistent. - 4
Finish Your Piece
Once all stitching is complete, tie off your thread on the back securely. Trim excess fabric, leaving a margin if you plan to frame or turn it into another item. Iron the piece carefully to remove any creases or marks.
4Step 4: Display Your Work
- 📣 Здесь может быть ваша рекламаОставить заявку →1
Options for Displaying
Consider how you want to showcase your finished project. Some popular options include:- Framing - place your work in an embroidery hoop or frame for wall display.
- Functional Items - turn your design into a pillow, tote bag, or table runner.
- Gifting - handmade embroidered gifts are thoughtful and personal.
- 2
Care Instructions
To keep your embroidered piece looking great for years to come, follow these care tips:- Hand wash in cool water with mild detergent.
- Lay flat to dry and avoid direct sunlight to prevent fading.
- Iron the piece on the reverse side to prevent damaging the stitches.
💡 Tips
- Practice your stitches on a scrap piece of fabric before starting your final project.
- Keep your workspace organized to prevent losing small supplies like needles and scissors.
- Consider keeping a sketchbook to jot down design ideas and notes for future projects.
- Use embroidery guides or tutorials online to expand your skills and learn new techniques.
⚠️ Warnings
- Be cautious with sharp needles and scissors; keep them out of reach of children and pets.
- Avoid pulling too tightly on your thread as this can pucker the fabric and affect your design.
- Choose your fabric carefully-some fabrics can fray easily, making them harder to embroider.
Frequently asked questions
What type of fabric is best for beginners in embroidery?
For beginners, it's recommended to start with cotton as it's easy to work with, sturdy, and holds the thread well. Linen is also a good choice but can be a bit more challenging.
Can I use a sewing machine for embroidery?
Yes, if you own an embroidery machine, you can use it for embroidery. However, this guide focuses on hand embroidery techniques, which is a great way to start learning the craft.
How long does it take to complete a small embroidery project?
The time to complete an embroidery project varies depending on its size and complexity. A small, simple design can take anywhere from 1 to 3 hours to finish.
What if I make a mistake while stitching?
If you make a mistake, simply use your scissors to gently snip the thread and remove the section. You can then re-stitch it correctly.
How can I transfer designs onto fabric?
You can transfer designs using a variety of methods such as tracing with a transfer pen, using iron-on transfers, or via lightbox if the fabric is thin enough.
Can I wash my embroidered fabric?
Yes, you can wash it; however, hand washing with mild detergent in cold water is advised to maintain the integrity of the stitches. Avoid wringing the fabric.